I did this for some friends to help explain a step by step walk through, although its a circuit it may give you a better idea of how to do it. Hope it helps
How to create a basic poi set (track)
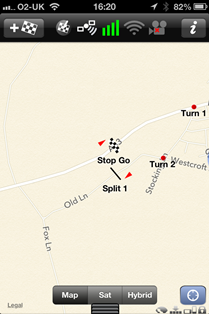
In this example we will set up a track round the block with a stop/go trigger (finish line that starts & stops timing/video automatically), 4 corners and 2 splits (sectors)
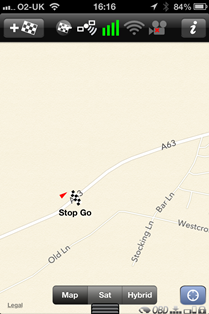
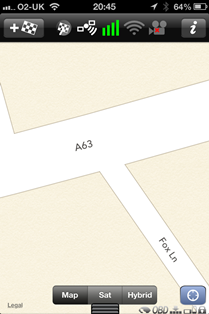
Ok click more tab then map, you will see a small cross hairs bottom right, tap it to stop centre map location allowing you to move the map round without it springing back to your current location.
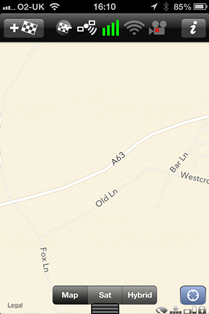
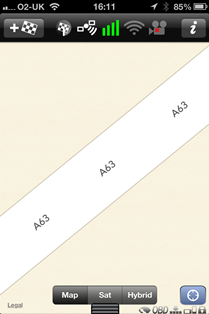
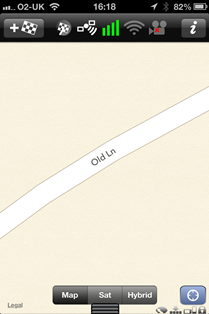
Now go to where you wish to place the stop go trigger and zoom in on that location
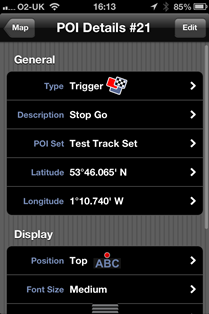
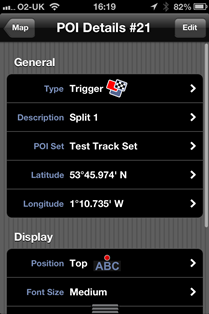
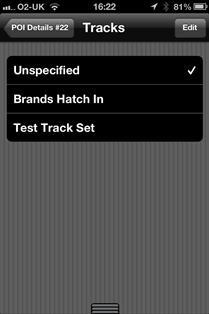
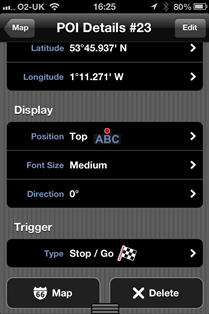
tapping the flag top right will bring up the following page. ***Noting*** the type set to trigger.
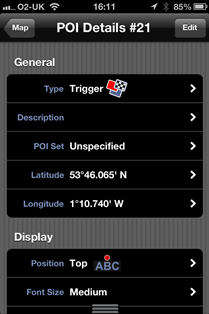
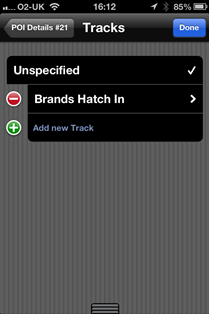
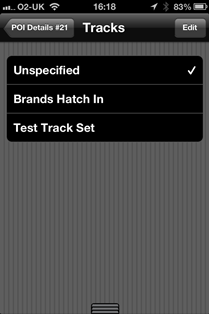
Tap the edit top right and then add new track
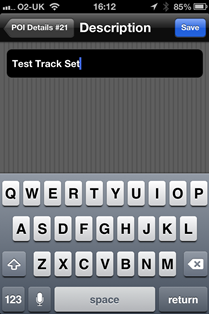
type the track description, in this example i've named it Track Test Set
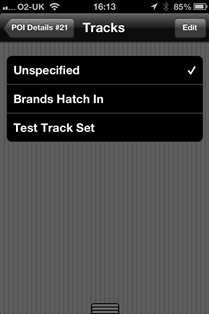
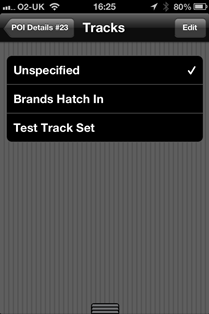
now hit poi set that will be set as unspecified at this point
and hit the track set name you wish to associate the current poi to, in this case test track set
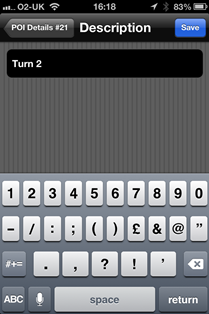
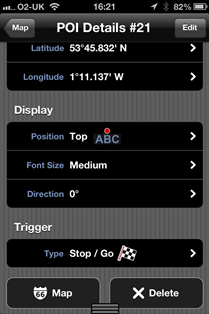
Now press description
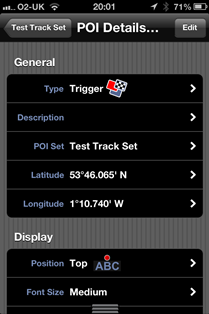
and describe it in this case as Stop Go and save (top right)
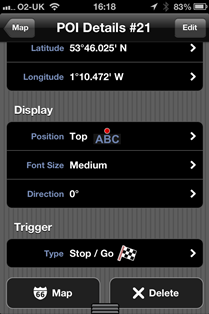
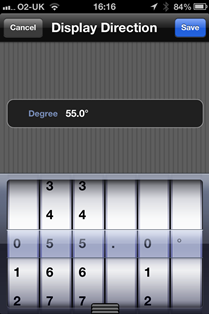
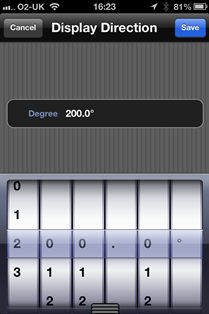
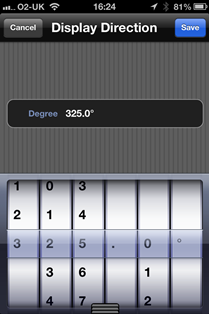
scroll down and hit direction
you need to now add the direction of travel in degrees, in this case 55o and save
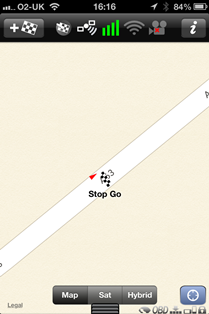
now click map at the bottom to see the current poi and note the direction now lines up with the road
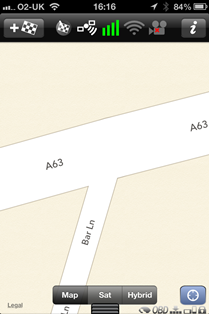
we now need to move to our next poi on the map, in this case it will be a right turn
and zoom in to set the poi
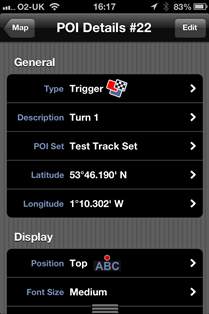
top the flag as before top left to place it and name it in this case Turn 1 and then save

associate it with the track set

so it will now look like this
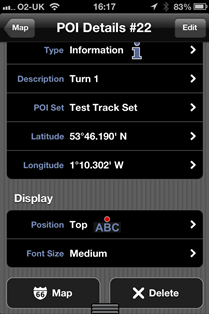
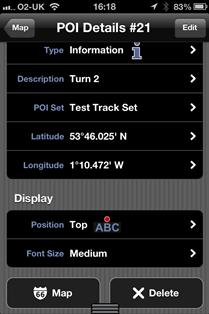
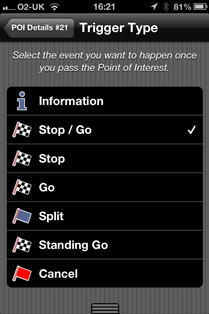
go to the trigger type (currently set to stop go) and tap it
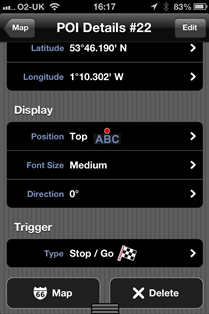
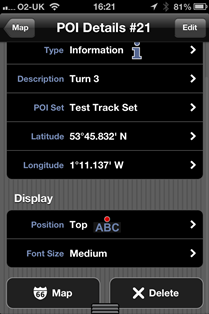
and change it by tapping it to information with it being a corner

it will now alter to look like this
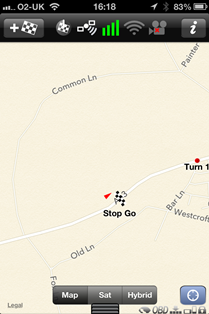
going to map we can now see the first two poi's
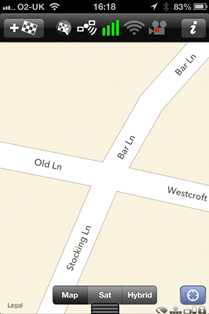
now scroll to the next poi placement and zoom in again and hitting the flag again to set the poi placement
name it and save
associate it with the track set

scroll down to change the trigger type
and set it as info
click map
and scroll and zoom for the next poi and hit the flag to set its placement
This time we will set a split up and name it accordingly

associate it with the poi set

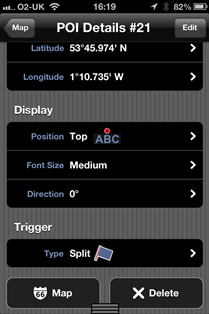
scroll down and hit the trigger type
This time set it as a split

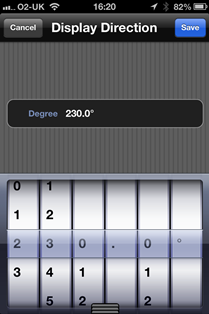
as you will see we need to set direction again
so as before we need to set it and save
and the map will sow it lined up with the direction of travel
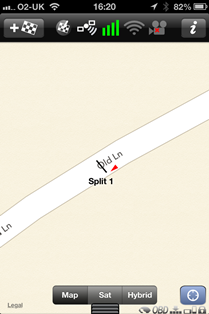
now clicking map as before we can see the track coming on nicely
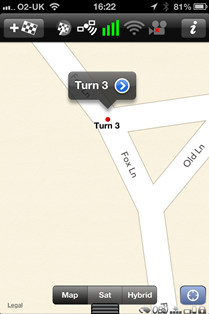
so time to scroll and zoom to the next poi (corner 3 this time) hitting the flag to set it

name it

add the track set

press the trigger
set it to information
click map
now you will see its not quite lined up, this can happen from time to time. so tap the poi and you will see its info + a blue arrow
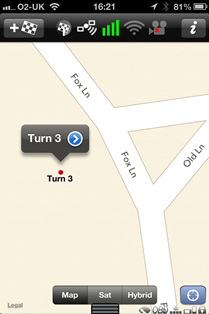
holding your finger on it you can now drag and drop it into place
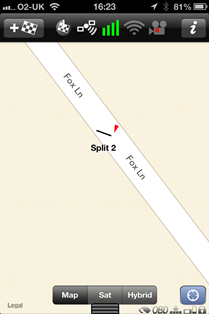
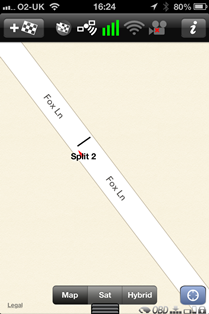
So then scroll to the next poi place and zoom accordingly and we will make a split 2 buy hitting the flag
name and save it
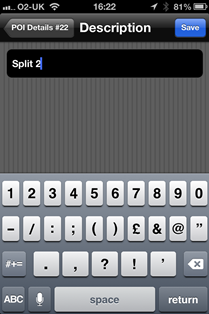
associate it with the poi set
change the trigger type

set it as split again

set and save direction
now as you can see its not quite right
tap the split and click the blue arrow
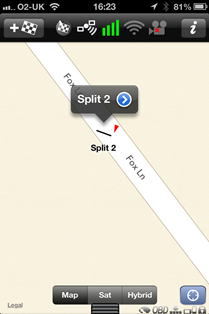
it will then take you to the main page and go back and change the direction and save
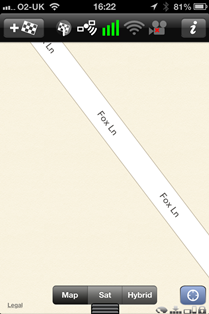
back to the map to check alignment
now onto the next poi placement and zoom in hitting the flag again to set its position
this time adding turn 4 and save it

setting the track set
trigger type to information
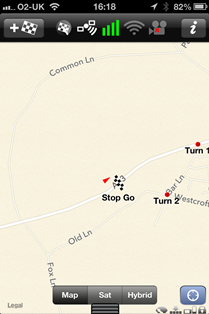
so now go to the map and we can see the full circuit
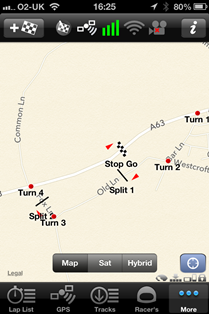
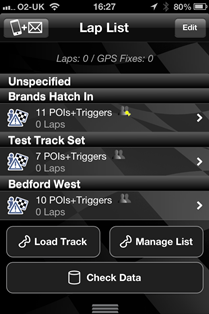
if you then go the the lap list tab you will see the poi set named test track set with the 7 poi's (4 corners, 2 splits and the stop go trigger)
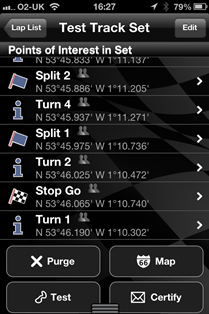
and hitting the track set you will see all the poi's, don't worry they are not in the correct order as they work on long/lat positions
now all you have to do is go out and drive the circuit with it set to time/video.